
Direct-to-Film (DTF) printing is a game-changer for creating vibrant, eye-catching designs on various fabrics. But as simple as it can appear, achieving perfect results requires following precise pressing instructions. Get it right, and you’ll enjoy flawless prints that last. Make a few mistakes, and you could end up with wasted materials or disappointing results.
Whether you’re new to DTF printing or looking to refine your technique, this guide will walk you through the step-by-step pressing process, what to watch out for, and how to troubleshoot common issues. By the end, you’ll be armed with the knowledge to press like a pro!
Step-by-Step DTF Pressing Instructions
Pre-Press to Remove Moisture
Before transferring your design, always pre-press the garment. Why? Moisture in the fabric can interfere with the adhesion process, leading to uneven application or a less vibrant print.
-
How to Do It:
Press your garment for 3-5 seconds to ensure it’s dry and smooth, creating the perfect base for your transfer. -
What Can Go Wrong:
Skipping this step might lead to a patchy print or peeling issues down the line.
Set the Right Temperature
Temperature is a critical factor in DTF success, and it can vary depending on the material you’re working with.
-
For Cotton:
Temperature should be set to 300–320°F. -
For Polyester, Synthetics, and Blends:
Go for a lower range of 260-275°F to avoid scorching or damaging the fabric. -
What Can Go Wrong:
Using the wrong temperature can cause issues like faded designs, improper adhesion, or even damage to the fabric. Too high, and you might scorch; too low, and the transfer won’t stick properly. Always double-check your settings before pressing!
Apply the Right Pressure
Pressure determines how well your design bonds to the fabric. For best results, use high pressure when pressing.
-
How to Know It’s Enough:
While each heat press varies, aim for firm, even pressure that ensures the entire design gets equal treatment. -
What Can Go Wrong:
Low pressure can cause parts of the design to peel off prematurely or fail to adhere altogether. Uneven pressure might leave parts of the design lighter or patchy. If using an iron instead of a heat press, ensure you press firmly and maintain consistent pressure.
Follow the Recommended Pressing Time
The ideal pressing time is usually 8-15 seconds, depending on the materials and equipment. Stick to this window for the best results.
-
What Can Go Wrong:
If you press for too long, your design might overheat and lose vibrancy or stick to the film instead of the fabric. On the other hand, under-pressing may result in a weak bond that peels in the wash.
Peel at the Right Temperature
All DTF prints from Texas Made DTF are instant hot peel designs, meaning you can remove the transfer film immediately after pressing while still hot. However, if you’re unsure about applying enough pressure, wait for the design to cool before peeling to avoid smudging or lifting.
-
Hot Peel: Gently remove the film right after pressing.
-
Cool Peel: If using an iron or lower pressure, wait for it to cool completely before peeling.
-
What Can Go Wrong:
Peeling too soon might lift parts of the design, leaving gaps or tears. Always ensure you follow the peeling method based on your setup for smooth results.
Re-Press for a Professional Finish
To lock in the design and give it a polished look, re-press the garment. Simply cover the design with parchment paper or a heavy cotton shirt, then press for 5 seconds.
-
What Can Go Wrong:
Skipping the repress step might make your design look less refined or compromise its durability. This final step ensures everything is bonded securely.
Common Mistakes to Avoid
Misjudging Pressure
Not sure if your press has “high pressure” settings? Uneven or insufficient pressure is one of the most common issues, especially with a home iron. Test your press beforehand to ensure consistent pressure across the design.
Ignoring Material-Specific Settings
Using the same temperature and time for all garments might seem easy, but it’s a surefire way to run into problems like scorching polyester or failing to adhere to cotton. Take the time to adjust for each fabric.
Rushing the Peel Process
Getting impatient and peeling too soon can cause damage to your design. If you’re unsure, switch to a cool peel method or test with a small section.
Overheating Your Transfer
Surpassing the recommended temperature can damage the special film or ruin your garment entirely. Use a heat-resistant thermometer or ensure your press has accurate readings.
Forgetting the Repress
This final step often gets overlooked, but it’s vital for durability and finishing. Those few extra seconds can make a world of difference!
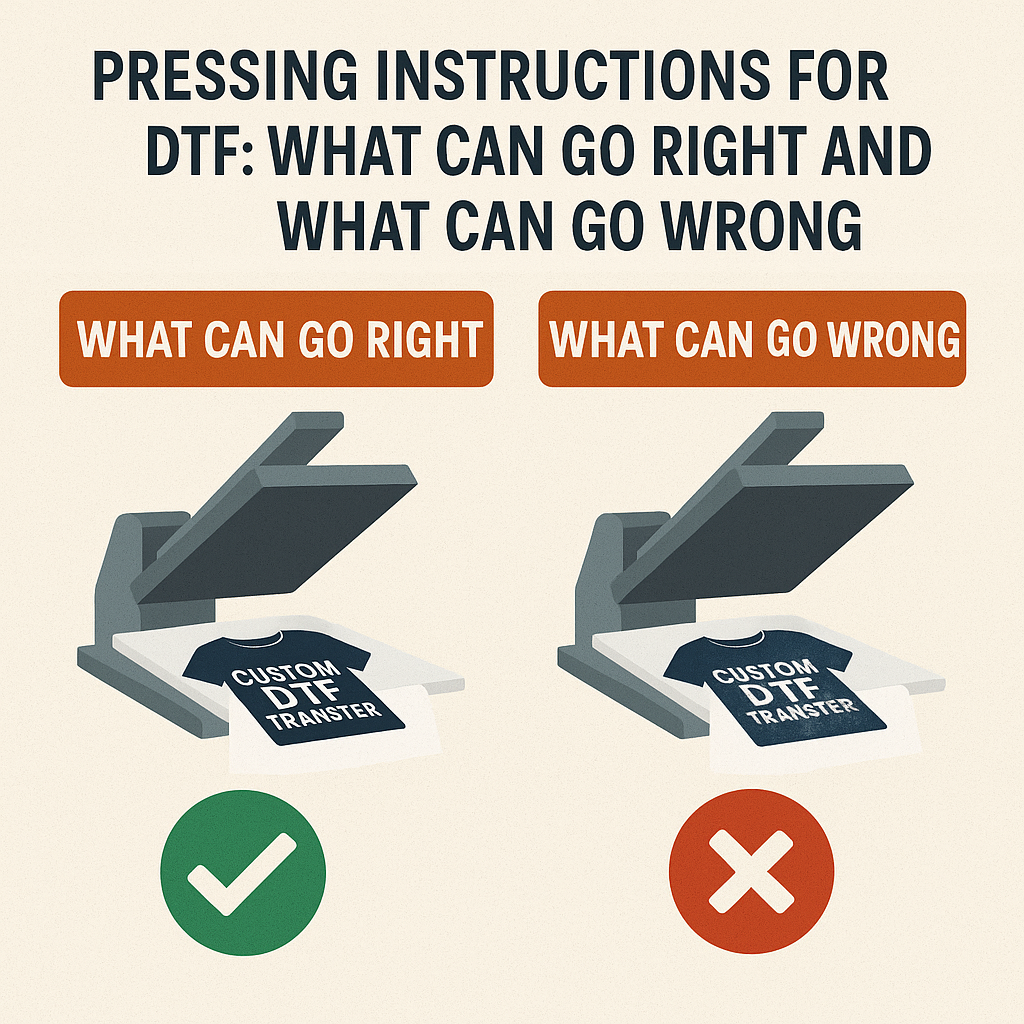
What Can Go Right
When you follow the process carefully, here’s what you can expect:
- Vibrant Prints: Your designs will pop with rich, true-to-color vibrancy, standing out on your garments.
- Durability: Properly pressed designs maintain their quality even after multiple washes.
- Customer Satisfaction: Whether you’re making shirts for customers, gifts, or personal projects, careful pressing delivers professional results every time.
Press With Confidence
By understanding the nuances of DTF pressing, you’ll avoid common pitfalls and create flawless prints with ease. From pre-pressing to peeling, every step matters when it comes to achieving top-quality results.
Take your DTF printing to the next level by exploring Texas Made DTF’s selection of custom designs, gang sheets, and helpful pressing tools. With their premium products and clear instructions, you’ll master the art of DTF pressing in no time. Visit their pressing instructions page for additional tips and resources.
Get started today and see the difference! Whether it’s a single design or a gang sheet full of creativity, your perfectly pressed projects await.